Aedofab Front Bumper Install for an S-10 ZR2 or GMC Sonoma Highrider
Introduction
The following outlines the install of the Aedofab Front Bumper on an S-10 ZR2 or GMC Sonoma Highrider. For pricing information, check our products section.
To order or if you have questions, email Mike Aedo. The same front bumper can be utilized for the S-10 ZR2 or GMC Sonoma Highrider pickup. They can be ordered either powder coated black or as bare metal for you to finish as you choose.
Installation
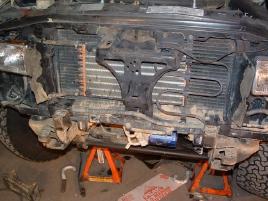
Step 1 The first step is to remove your stock front bumper, grill, air damn, skid plate, and air management plate around the radiator. Be sure to be careful when removing the plastic rivets in the air management plate, as you will use them to reinstall it. Everything else simply bolts off. When you are complete, it will look as shown below.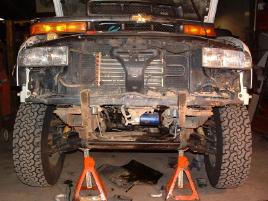
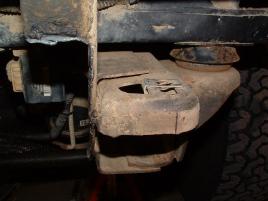
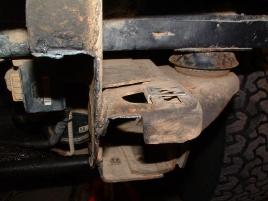
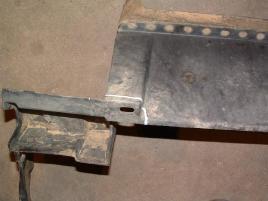
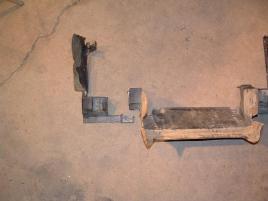
Step 2 The image below shows the stock bumper horns protruding from the front of the vehicle. In order to fit a winch, these will have to be modified. You can either completely remove them, or cut off only what is necessary, as is shown in the pictures. This will allow you to reinstall your front bumper later if you wish to do so. Otherwise, you will not have that option.
For our shop install for a customer, we only cut what is necessary. 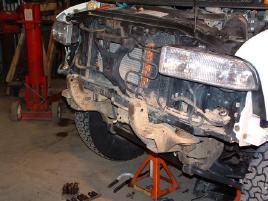
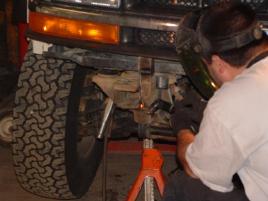
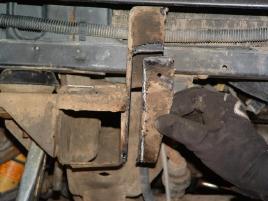
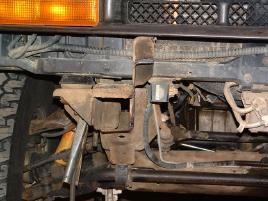
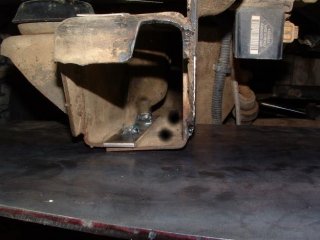
Step 3 The next step is to cut a notch out on the front frame horn so the Aedofab bumper bracket can be installed onto the frame. The next two pictures shows the before and after of the cut.
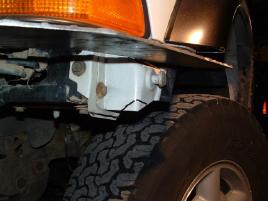
Step 4 Using a cutoff wheel or tin snips cut out a section of each fender as illustrated by the line in the picture below. It is a good idea to use some primer and touch up paint to seal the bare metal to prevent rust.
Step 5 Slide each nut plate into the frame horns over the stock holes. There are four holes in each frame horn. THe nut plate goes over the holes without threads towards the outside of the vehice.
Step 6 Get the air management plate that you removed from the vehicle. The middle section will be removed in order to accommodate the bumper. The sides will be retained and a new fiberglass plate (provided) will replace the mid section. The pictures below show where you will need to cut on each side, as illustrated by the white line. Use a cutoff wheel, hack saw, or other tool to cut the plastic material. When cutting is complete, install two outer side plates you now have back onto the vehicle. 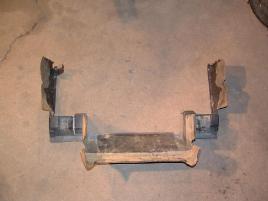
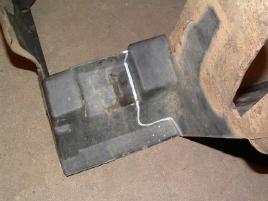
Step 7 You are now ready to attach the front bumper. Slide the bumper into the frame over the 4 bolts. Be sure to use a drop of lock tite on each bolt and only FINGER TIGHTEN the nuts. Next, install the 1/2 bolts on the sides of the winch tray. Again, be sure to use lock tit and only do them finger tight at this point. 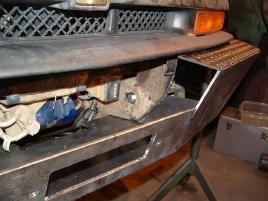
Step 8 Get the fiberglass replacement (provided) for the center of the air management plate. Line it up in the center of the frame horns to ensure it will fit. Since every vehicle can be slightly different from another, you may need to trim or sand this piece to fit. This attaches with the stock rivets to the vehicle. The one shown in the picture below is white for illustrative purposes. These are shipped painted black. 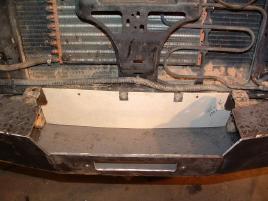
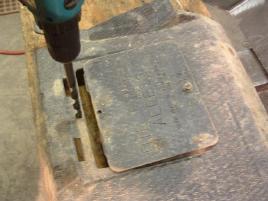
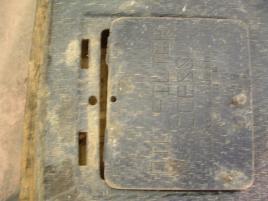
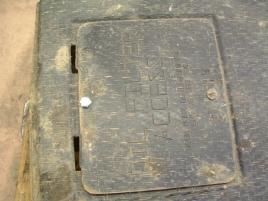
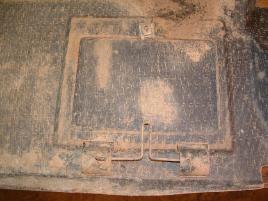
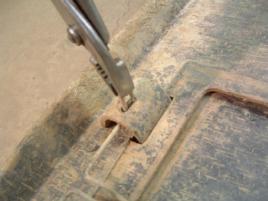
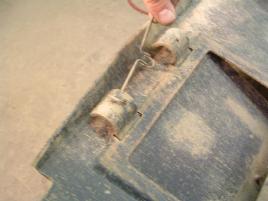
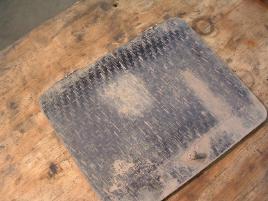
Step 9 Go back and tighten down the bolts, starting with the eight bottom bolts, then the two side bolts. Congratulations! Your bumper is now installed. Step 10 – Optional if you wish to put the plastic skid plate back on Get the plastic skid plate you removed back in step one. The “door” and plate need to be modified before it is installed back onto the vehicle. The following picture shows the stock door attached to the skid plate. Remove the skid plate and door.
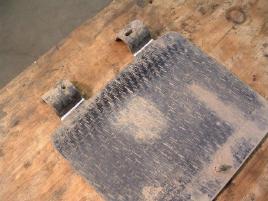
Draw marker lines to match the picture below. Using a cutoff tool or hack saw, remove the “humps” from the door.
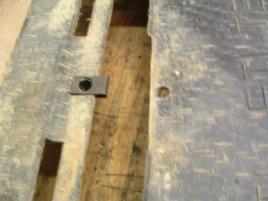
Place the door back onto the skid plate, and measure and mark 1/4″ from the edge in the center of the door. Drill a 5/16″ hole through both the door and the skid plate. 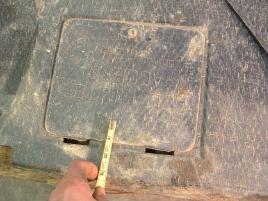
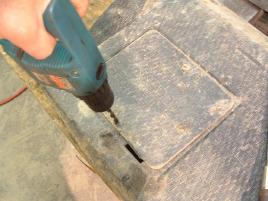
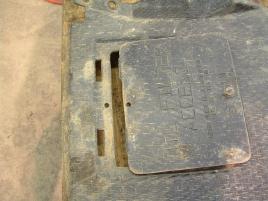
Make the hole on the skid plate larger be drilling it out with a 1/2″ drill bit. Be sure not to re-drill the door. Install the provided clip onto the skid plate, and bolt the door shut with the provided bolt. Then, install the skid plate back on the vehicle. 