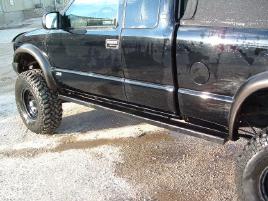
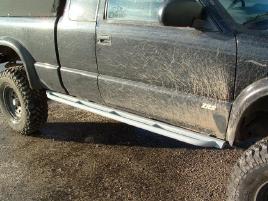
Slider Install for an S-10 ZR2 or GMC Sonoma Highrider
Introduction
The following outlines the install of AedoFab Rock Sliders on an S-10 ZR2 or GMC Sonoma Highrider. For installation instructions for a BlaZeR2, go here. For pricing information, check our products section.
To order or if you have questions, email Mike Aedo. The same sliders can be utilized for the S-10 ZR2 or GMC Sonoma Highrider pickup, as well as the Blazer with the S-10 package. The installation directions are the same for either the sqaure or tubed versions. They can be ordered either powdercoated black or as bare metal for you to finish as you choose.
Each pair of sliders comes with the following:
- 4 long 3/8″ Grade 8 Bolts
- 8 short 3/8″ Grade 8 Bolts
- 4 3/8″ nuts
- 8 3/8″ nuts with washers welded on
- 4 small washers
- 2 big washers
To install the sliders, you will need the following:
- Drill
- 3/8″ high speed steel drill bit
- 2 9/16″ wrenches
- Lock-Tite — Be sure to use Lock-Tite on all bolts.
- Needle-nose pliers
- Adjustable C-Clamp
- Center Punch or Scribe
- Duct Tape
- Vice Grip
- Chisel
- Hammer
- Jack stands (optional)
- A friend or somebody who otherwise owes you a favor. It will make the install go easier if you have some help!
- Beverage and snacks of said helper’s choice. Don’t skimp!
InstallationPassenger Side SliderStep 1 Your best bet is to start with the passenger side, as it is easier than the driver side. Locate the two existing holes in the frame towards the front body mount as shown in the picture below.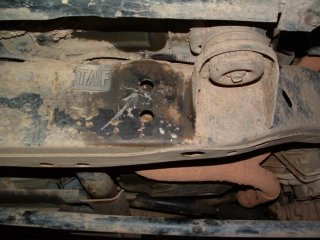 Note the white arrow drawn pointing to the top hole. This will be your guide for installing the sliders. Step 2 Get the passenger side slider and lay it down next to the truck. You can identify passenger and driver’s side by the drilled holes on the mounting plates. They are in the shape of triangle, with one hole on top and two on the bottom. Pick up the slider and line the top hole on the front mounting plate with the hole pointed out above. Insert one of the long 3/8″ bolts and thread it in a bit, but don’t tighten it down. It may help to prop the slider up on jack stands or have somebody hold the slider flush to the frame in the rear. Once you have the bolt in, it should look like the picture below:
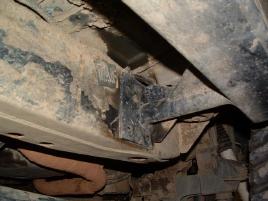 Step 3 The next step is to clamp down the rear mounting plate onto the frame so you can mark and drill the necessary holes. Lift the rear of the slider up and line it up along the frame. At this point “eyeball” them and line them up with the body. They should be about 1/2″ from the bottom of the body (even for trucks with body lifts, if you specify the lift size you have when you order, the sliders will be made custom to fit). Once you are satisfied, clamp the mounting plate to the frame as shown and tighten the front bolt.
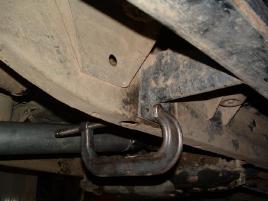 Step 4 Use a center punch or scribe to mark the holes to be drilled. It may be easier to use a scribe to get at the holes. Be sure to scratch the full hole impression into the frame if you will be removing the sliders for drilling.
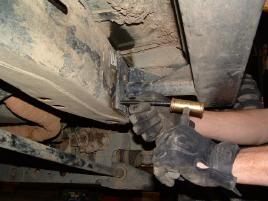
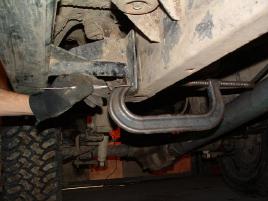 Step 5 Drill the holes with the 3/8″ drill bit. You can leave the slider on for drilling the lower holes, but you will have to remove it for the upper hole in the rear.
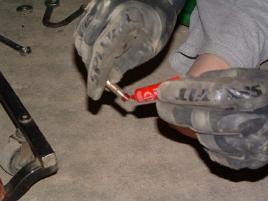
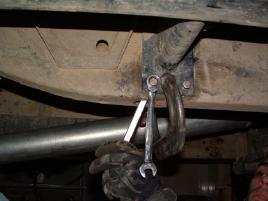
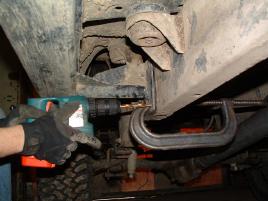 Step 6 Now it is time to attach the slider to the frame permanently. Attach the front of the slider like you did before. However, this time, be sure to put Lock-Tite on the long bolt before threading it in. Thread the bolt in loosely, then clamp the rear so the holes align with the newly drilled holes.Step 7 Get 5 of the nuts with washers welded on and 5 short bolts, along with one of your 9/16″ wrenches and the duct tape. You are going to make a special “tool” to bolt to the frame. As shown in the pictures below, rip off a small section of duct tape and tape the nut with welded washer onto the wrench.
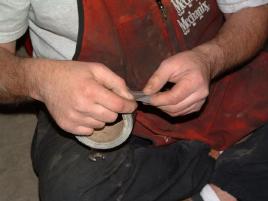
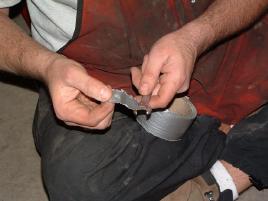
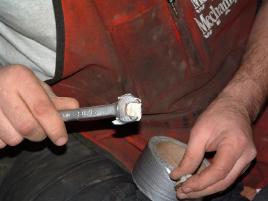
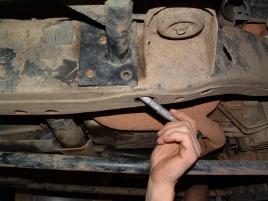
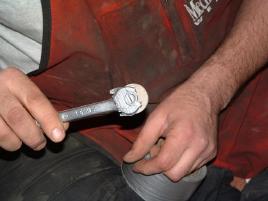 Step 8 Utilize your new tool to reach through the holes in the bottom of the frame with the wrench and nut. Apply some Lock-Tite to the bolt and slide it through a hole and thread to the nut. Repeat for each bolt. NOTE: Be sure to do the “inner” or “farther” bolts first to stay out of your own way.
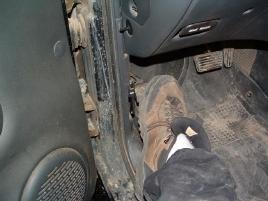
 Drivers Side Slider For the drivers side, there are additional steps to follow before and after installing the slider. The parking brake cable needs to be disconnected, and the existing bolts and nuts for the gas tank bracket need to be removed.Disconnecting the Parking Brake CableStep 1 Engage the parking brake by pushing it as far as possible with your foot.
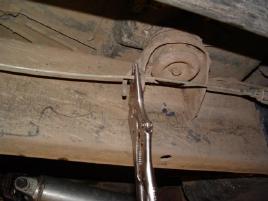
  Step 2 Clamp the vice grip on the parking brake cable right next to the cable guide underneath the door (about the center of the truck). Be sure to clamp it on the left side of the guide.
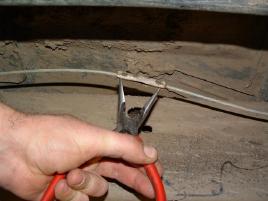
  Step 4 Release the parking brake. The clamped vice grips will cause there to be plenty of slack in the cable so you can disconnect it. Locate the cable coupler. Use the needle nose pliers to sqeeze the two ends of the cable together inside the coupler. One end will pop out, pull it towards the middle and unhook it. You are now ready to remove the existing gas tank bolts.
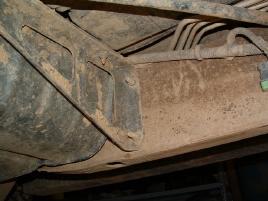
  Removing Gas Tank Bracket Bolts Locate the gas tank bracket bolts as shown in the picture below. Unbolt them and remove the existing nuts, using a hammer and chisel if necessary. Use the 3/8″ drill bit and drill out the holes to be sure they can accomidate the new bolts
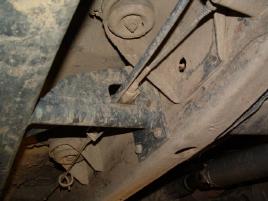
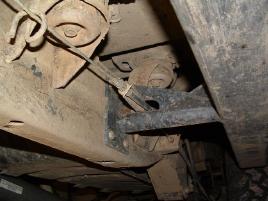
  Mounting the Slider With the prep work out of the way, you can mount the drivers side slider the same way as you mounted the passenger side slider. However, since there are existing holes for the rear of the slider from the gas tank bracket mount, you can put bolts through to hold the slider for marking drills rather than using the C-clamp. Reconnecting the Parking Brake Cable To reconnect the cable, you won’t have the luxury of using the parking brake lever in the vehicle. Slide the cable through the slider mounting brackets. Pull hard on the cable and clamp it the same way you did before. Finally, hook the two ends together in the coupler. It should look as shown below:
Congratulations! You are now ready to hit the trails with more protection than you had a few hours ago. Good luck, and we hope you enjoy the sliders!

