Aedofab Dual Battery Tray Install for a Discovery Series II
Click on images for a larger picture
Introduction
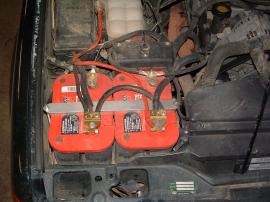
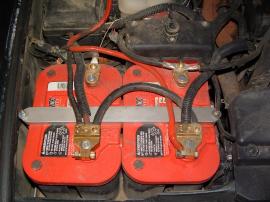
The following outlines the install of the AedoFab dual battery tray on a 2001 Discovery Series II. It can be purchased for $175 plus shipping, all hardware is included. Shown below is the dual battery tray installed housing two Optima Red Top’s:
The dual battery tray comes complete with the following:
- 1 1/8″ Steel Dual Battery Tray custom fit to the contour of the Disco II front fender in the engine bay, which utilizes the stock mounting points
- 1 aluminum battery securing bracket which goes across the top of the batteries
- 2 threaded studs for mounting of battery securing bracket
- 2 lock nuts
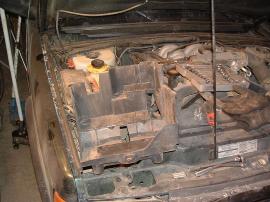
InstallationStep 1 Disconnect the battery and remove the stock battery tray. This is pretty straight forward. Be sure to KEEP THE STOCK BOLTS. You will use them to mount your new dual battery tray. The following shot shows the plastic stock tray removed. Our customer’s stock tray was a little hacked up, as he tried a home-made setup for mounting his Optima’s.
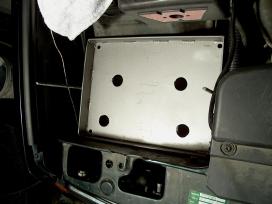
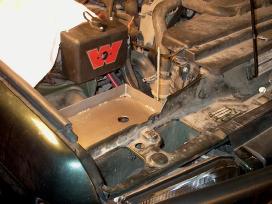
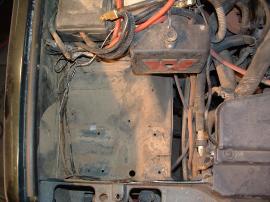 Step 2 Place the battery tray into the engine bay. It will look as shown below. Notice there are holes in the tray which correlate to the bolt holes in the bay for the stock locations.
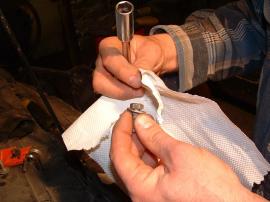
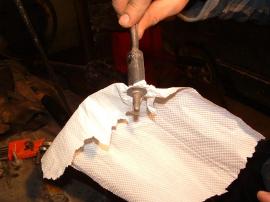
 Step 3 The next step is to bolt the battery tray back down. This is a bit tricky because you are bolting through the holes. However, using the following trick, it shouldn’t be a problem. You’ll need some paper towels. Fold the paper towel and put it over the top of the stock bolt. Slide on the socket so it is snug, then rip off the excess. Now you can then easily use an extension on your socket to lower the bolt through the hole and secure the tray to the vehicle. Tighten all four bolts using this procedure.
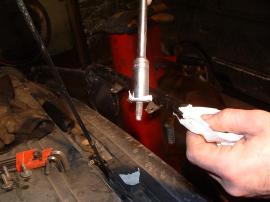
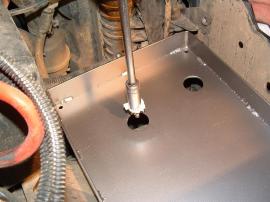 Step 4 Using Lock-Tite on the studs, thread them into the battery tray. Thread them down until they measure about 7 1/2 inches above the base of the tray.
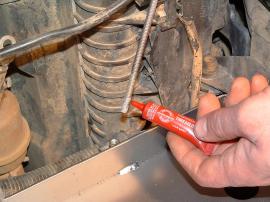
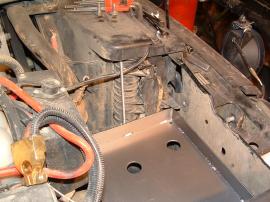
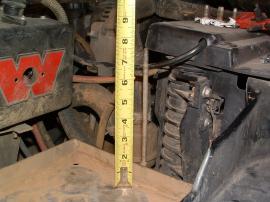 Step 5 Place the batteries on the tray. Be sure to face the terminals towards the inside of the engine compartment so the cabling does not hit the hood when closed. Slide the securing bracket onto the studs and tighten the bolts. There should be about three threads showing if you have measured everything up correctly. Be sure not to over-tighten the bolts and damage the batteries. They are lock-nuts, so they will stay in place.
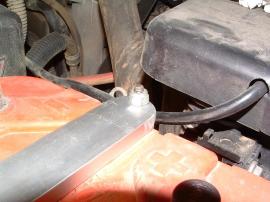
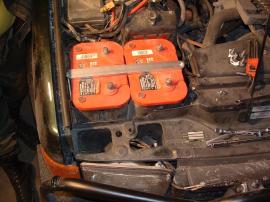
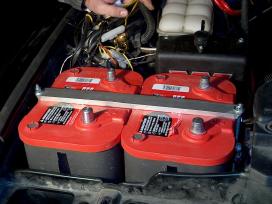 Step 6 Ensure everything is fitting snugly, and connect your battery terminals.