AedoFab Rock Sliders Install for a Discovery Series II
Click on images for a larger picture
Introduction
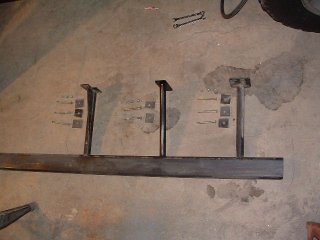
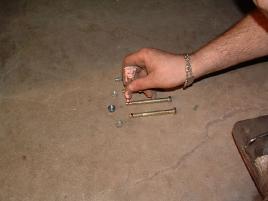
The following outlines the install of the AedoFab Rock Sliders for a Discovery Series II. For pricing informaiton, check our products section. To order, or of you have questions, please email Mike Aedo. The Rock Sliders come with bolts and mounting plates as shown below:
InstallationStep 1 The first step consists of removing your stock plastic sills. Be careful during this procedure, as you will re-use the plastic rivets and the sills themselves. Pay attention to which side you are removing, and be sure to keep track of which end is the “front” towards the front wheel.
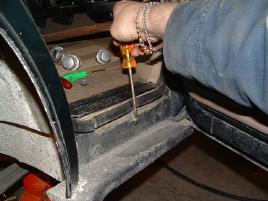
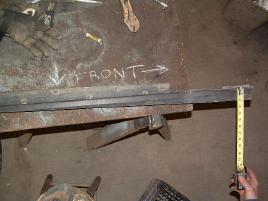
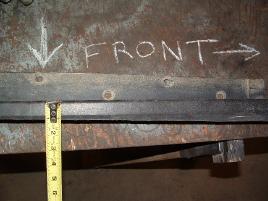
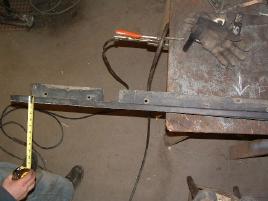
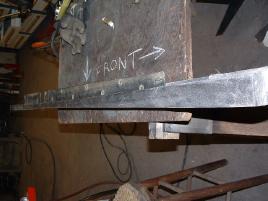
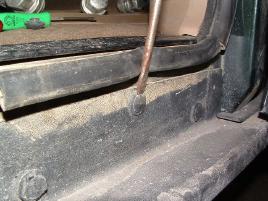 Step 2 Now that the sills have been removed, they need to be trimmed to form a straight line to accomidate the sliders. For all the following measurements, measure from the “fold” or “curve” on the sill. As shown in the first picture, measure 2″ down from the front of the slider and make a mark. Then, as shown in the second picture, measure 1″ down from the fourth hole and make a mark. Finally, all the way towards the back of the slider, measure 1″ down. Using a long straight edge, mark your cut line onto the sill. Use a cut off tool or hacksaw to cut anlong the line. The final picture shows the slider after cutting. When you are done, you can mount the sills back on the vehicle.
 Step 3 The evaporator can is in the way during the mounting procedure, so in needs to be unbolted and pushed out of the way. It is light so it can hang from it’s hoses during the install.
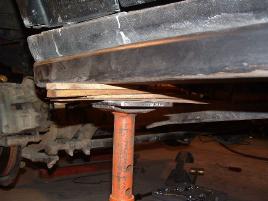
 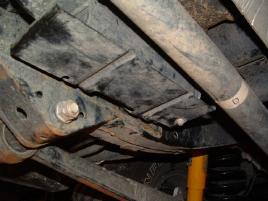 Step 4 You are now ready to begin mounting the sliders. Using jack stands and shims, get the slider level and at the correct distance from the plastic sills. You should leave about a 1/4 inch gap under the door sill and plastic trim. While the slider will not flex, the frame will flex a little. This will ensure you have enough room to accomidate the flex. The gap will help them use the restance of the flex in addition with spreading the load over the sill if it does make contact so you avoid denting the sills.
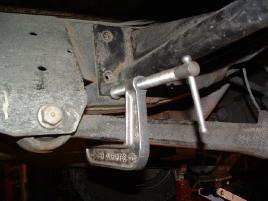
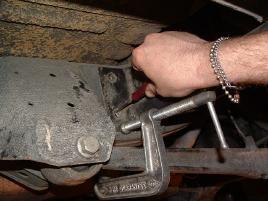
  Step 5 Now that you have the sliders lined up, use C-Clamps to secure them to the frame.
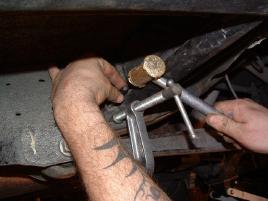
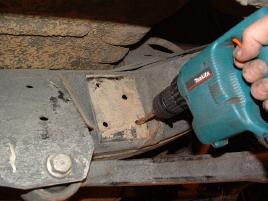
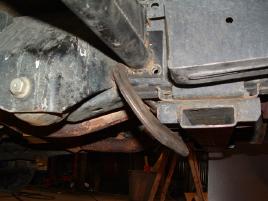 Step 6 Using a center punch, mark the drill points onto the frame. Or, you can use a scribe to mark the circle and take down the sliders to use the punch. Use a standard length 25/64 drill bit to drill through the frame. Drill all the way through, being sure to keep the drill as straight and paralell to the ground as possible.
 Step 7 Bolt the slider up to the frame using the steel plates as washers. It is not necessary to line up the steel plates perfectly. Be sure to use lock tite on all the bolts. On the passenger side, the rear nuts go on the outside of the frame rather than the inside.
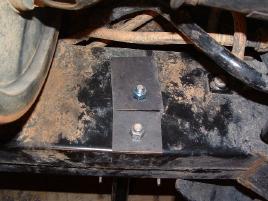
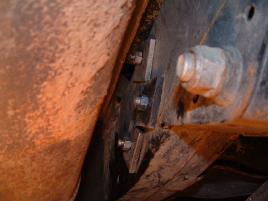 Step 8 Bolt the evaporator can back up to the frame. You will re-use the factory bolt. You will not be able to use the lower bolt now that the sliders are installed. Just snug the top bolt up (the bracket will twist a bit) and it will hold fine.
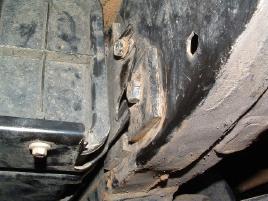 Congrats! You are done! Enjoy sill-safe wheeling in your Disco.

